
Email Host Transfer
Here at Jonesen, we know how critical email is to your day-to-day operations and communications. If you’re moving over to one of our curated hosting stacks, our goal is to ensure a speedy, simple, and safe transfer of your information and email accounts. Since every email transfer is different due to variations in original providers, email clients, and settings from your previous account, please see the guide below to make the transition as smooth as possible!
Pre-Transfer Actions
Before we get started transferring your domain/emails over to our Jonesen servers, you’ll want to prepare by taking the following steps:
Backup your inbox
Once your domain’s DNS settings have been updated to point at our servers, your old mail servers will no longer be accessible. It is very important that you save/backup any important emails that you had received in the past.
Provide us an alternate email
Since your email account will have to be configured after the transfer, provide a personal/alternative email account for communications during transfer. Once your new email is configured, notify us however you’ve been communicating with us prior to the transfer!
Post-Transfer Actions
Prior to the transfer, after confirming you’ve backed up important emails, we will send you your webmail access link, username, and temp password to both your primary and alternate email. Once the transfer has been completed, you can follow the steps below to setup your new email:
Login To Webmail
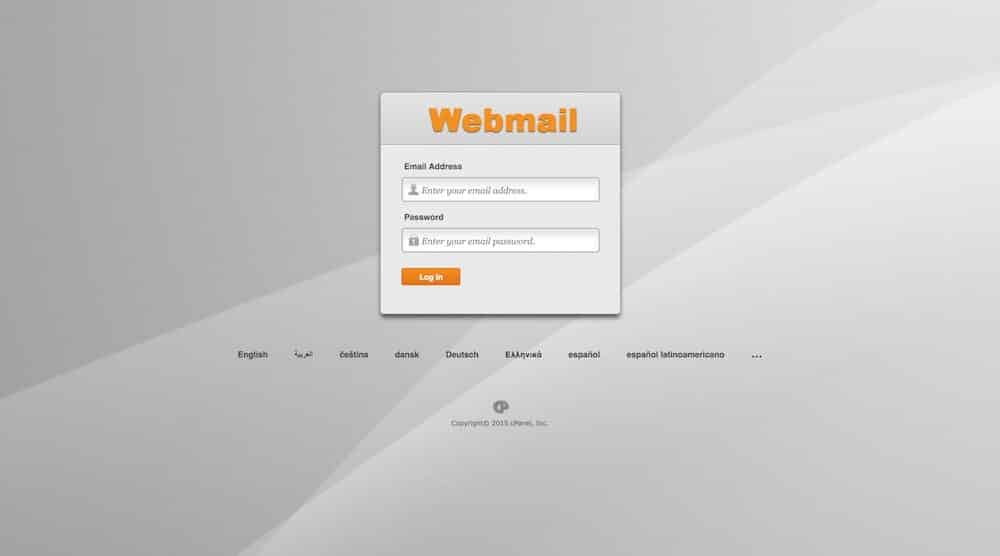 Your new webmail portal will available at webmail.yourdomain.com. Once the login page has loaded – sign in using the username (your email address) and temporary password provided to you.
Webmail Home
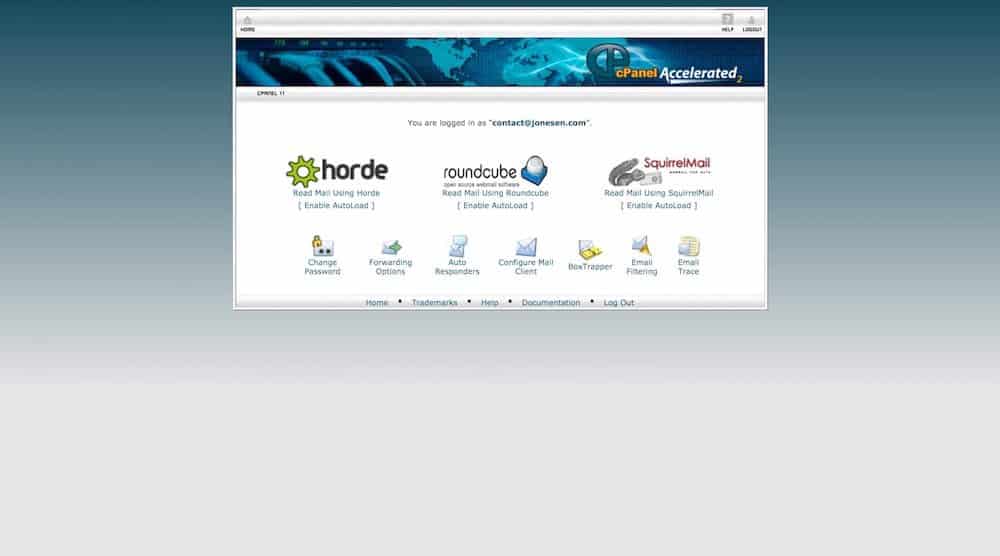 Once logged in, you can access your inbox with one of three different webmail clients (Horde, Roundcube, or SquirelMail). Also, you have a number of different settings that you can update/change.
Change Password
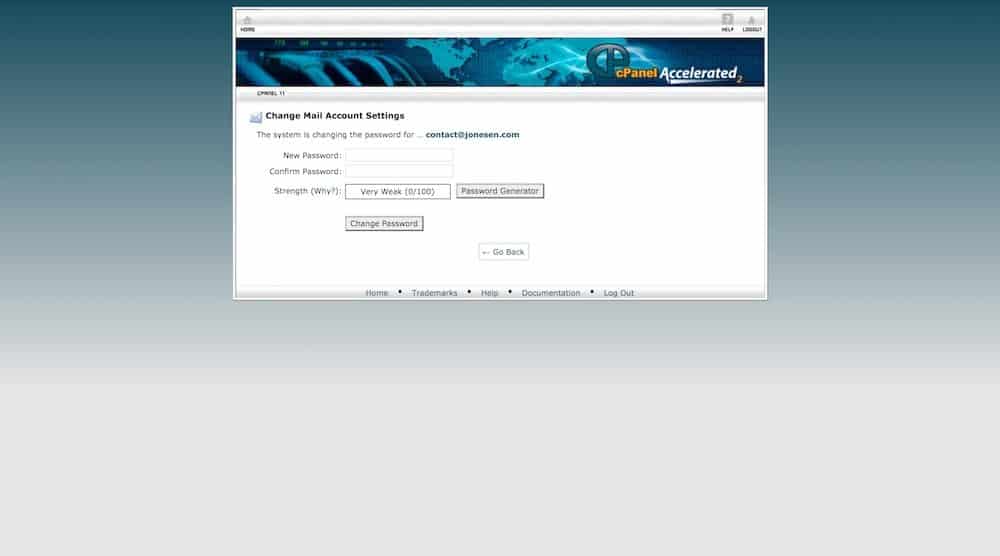 The first thing we recommend doing is changing your password from the temporary password we provided initially. Be sure to select a secure password that has a combination of letters (upper & lowercase), numbers, and special characters.
Configure Mail Client
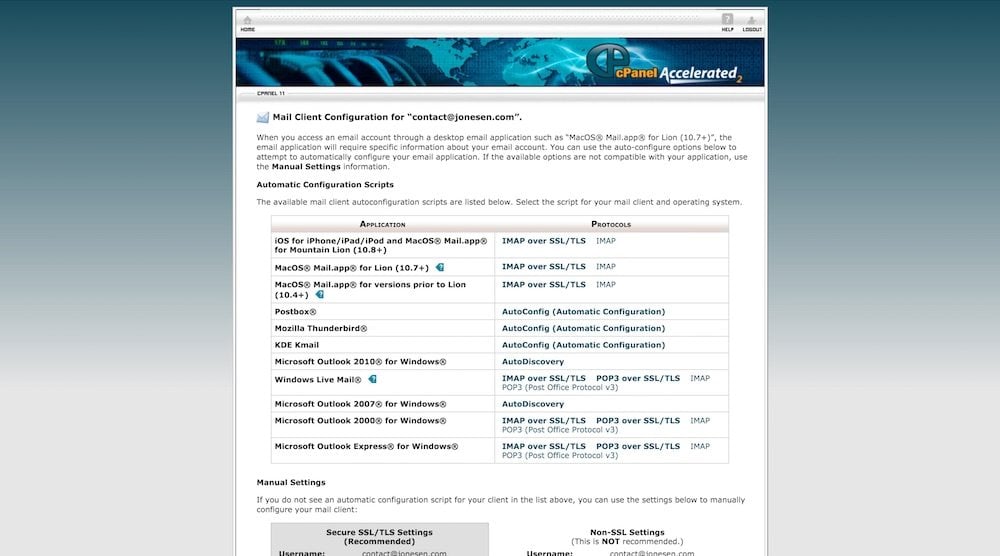 In order to use your new email in your preferred mail client (Outlook/Mac Mail/Mobile Devices) you need to use the settings found on the Configure Mail Client page. Here you can select to use one of the provided automated scripts or get the configuration to manually add the account to your client. If manually adding the account, we recommend using the Secure SSL/TLS settings and remember, your username will be your email address. For a comparison of POP3 and IMAP configuration, more information can be found here.
Once you’ve got your password changed and set up your mail client you are ready to go. Additional settings/configurations can be set up back on the webmail homepage. For example, you can set up email forwarding options or automatic email responders if you will be away for an extended period of time. As always, if you get stuck or have any questions about the process please contact us so we can help you out!